SEARCH
Understanding Hiking Difficulty Levels
Ever wonder why one trail feels like a casual walk while another leaves you gasping for breath? The answer lies in a mix of distance, elevation gain, terrain, and how technical the route gets. Knowing these factors helps you pick a hike that fits your fitness, time, and adventure level.
Key Factors That Define Trail Difficulty
First, look at distance. A 5‑km flat path is usually easy, but the same distance with steep climbs can push you into moderate or hard territory. Next, check the elevation gain. A 500‑meter rise over a short span adds strain, even if the path is smooth. Terrain matters, too – rocky slog, loose scree, or river crossings require more effort and skill. Finally, consider how technical the route is: any need for hands‑on climbing, rope work, or navigation in fog ramps up the difficulty.
Simple Rating System You Can Use
Most guidebooks and apps sort trails into four basic buckets:
- Easy: Flat or gentle hills, well‑marked, suitable for beginners. Example: Triund in Himachal Pradesh, a 9‑km round trip with modest climbs.
- Moderate: Steeper climbs, uneven ground, some route‑finding. Example: Valley of Flowers trek – 12 km with 1,200 m ascent.
- Hard: Strong elevation gain, rough terrain, often high altitude. Example: Hampta Pass – 25 km, 2,800 m gain, some snow patches.
- Very Hard: Technical sections, possible glacier travel, requires gear and experience. Example: Stok Kangri in Ladakh – 20 km, 2,300 m gain, altitude over 6,000 m.
Use these labels as a quick check, but always read the detailed description. A “moderate” hike for a seasoned trekker might feel easy to a beginner.
When you browse a trail online, look for three numbers: total distance, cumulative elevation gain, and highest point. Combine them with the terrain notes (rocky, forest, snow) to get a realistic picture. If the source provides a difficulty rating, compare it with your own fitness level – err on the side of caution.
Practical tip: start with an easy hike, note how you feel after a few hours, then step up gradually. Track your heart rate or how long it takes to cover a kilometer uphill. That data tells you whether a moderate trail is within reach or if you need extra conditioning.
Gear also influences perceived difficulty. Wearing proper hiking boots, layering correctly (remember the 3‑layer rule), and carrying a light pack can turn a hard trek into a manageable one. Don’t forget a map or offline GPS, enough water, and a snack for the tougher sections.
In short, understanding the mix of distance, elevation, terrain, and technical needs lets you match a trail to your ability. Pick a route, check the numbers, pack the right gear, and you’ll enjoy the hike without surprise strain. Happy trekking!
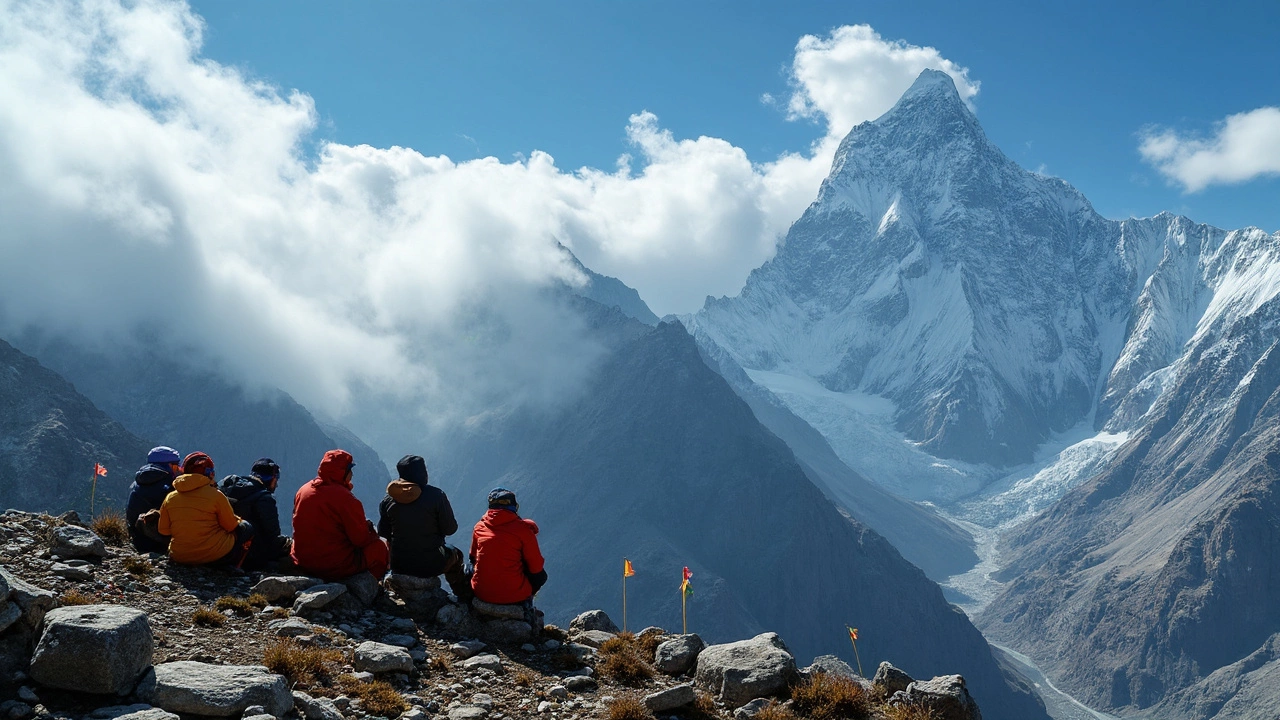
Is Kanchenjunga Harder Than Everest? Trekking Realities Compared
Ever wondered whether climbing Kanchenjunga really gives Everest a run for its money? This article strips away the myths and straight talk about what makes Kanchenjunga and Everest different in terms of trekking challenges. We’ll dig into terrain, weather, technical demands, and what it actually feels like to set foot on these legendary trails. Expect concrete tips and honest insights from real trekkers. If you're eyeing a big Himalayan adventure, you’ll find out which peak—and trek—suits your guts, skills, and goals.
Continue reading